Slide 1 of 4
Slide 2 of 4
Slide 4 of 4
Your Browser Is No Longer Supported. Please use an alternative browser to improve your experience and security.
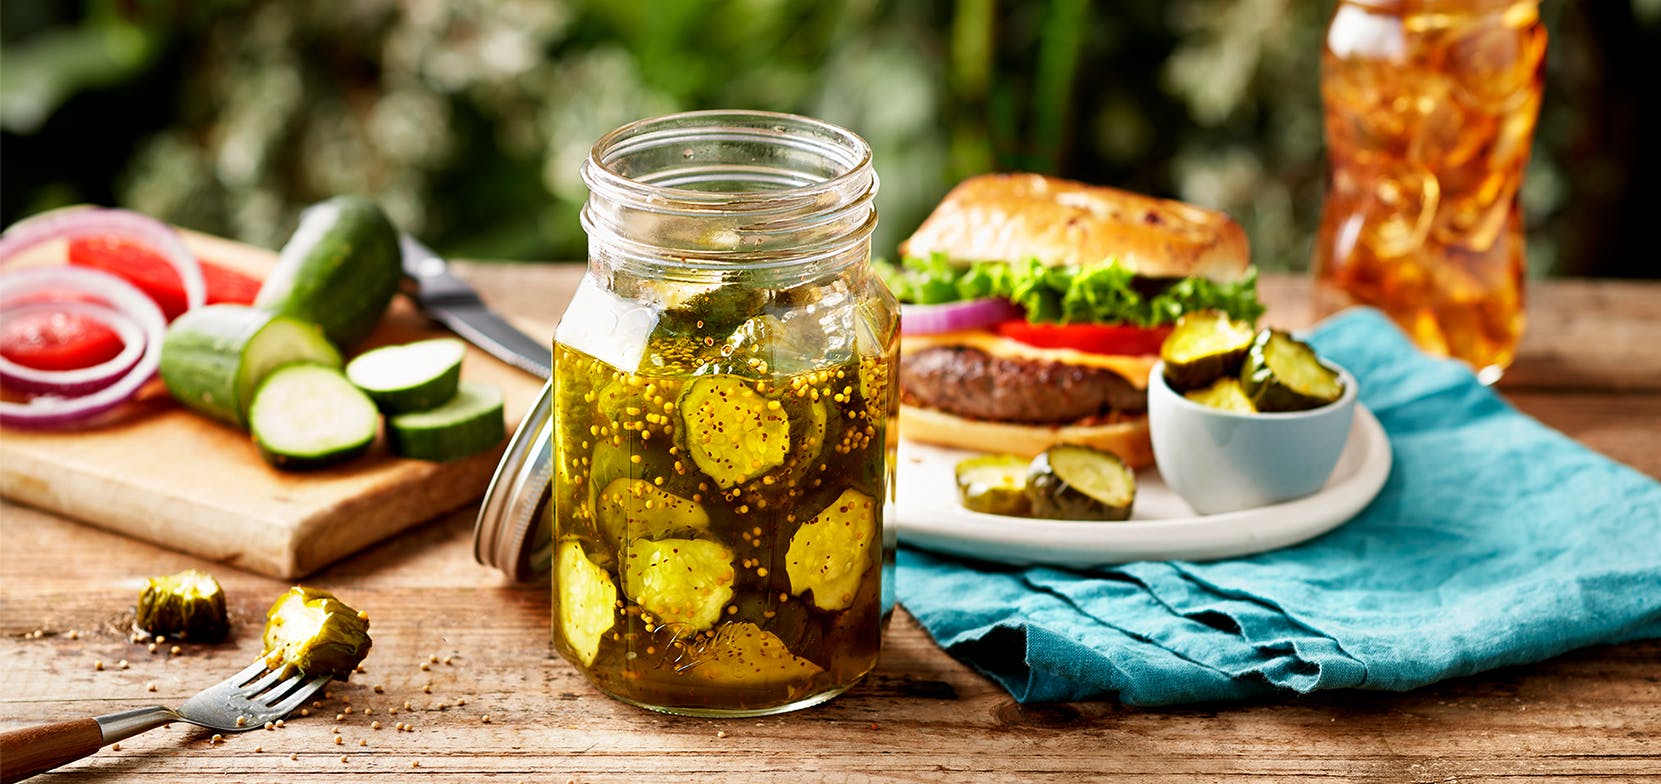
The National Restaurant Association recently called pickling one of today’s hottest culinary trends. For anyone who has tasted the deliciousness of a batch of homemade pickles, it’s not hard to understand why! Not just a technique for how to pickle cucumbers, refrigerator pickling vegetables of all kinds can provide fresh and distinct flavors to your meals. Home canners have expanded the practice to include any number of different veggies, including asparagus, cucumbers, green beans, jalapeños, okra, and more.
Given the amount of flavor it unleashes, it’s hard to believe that pickling is such a simple process.
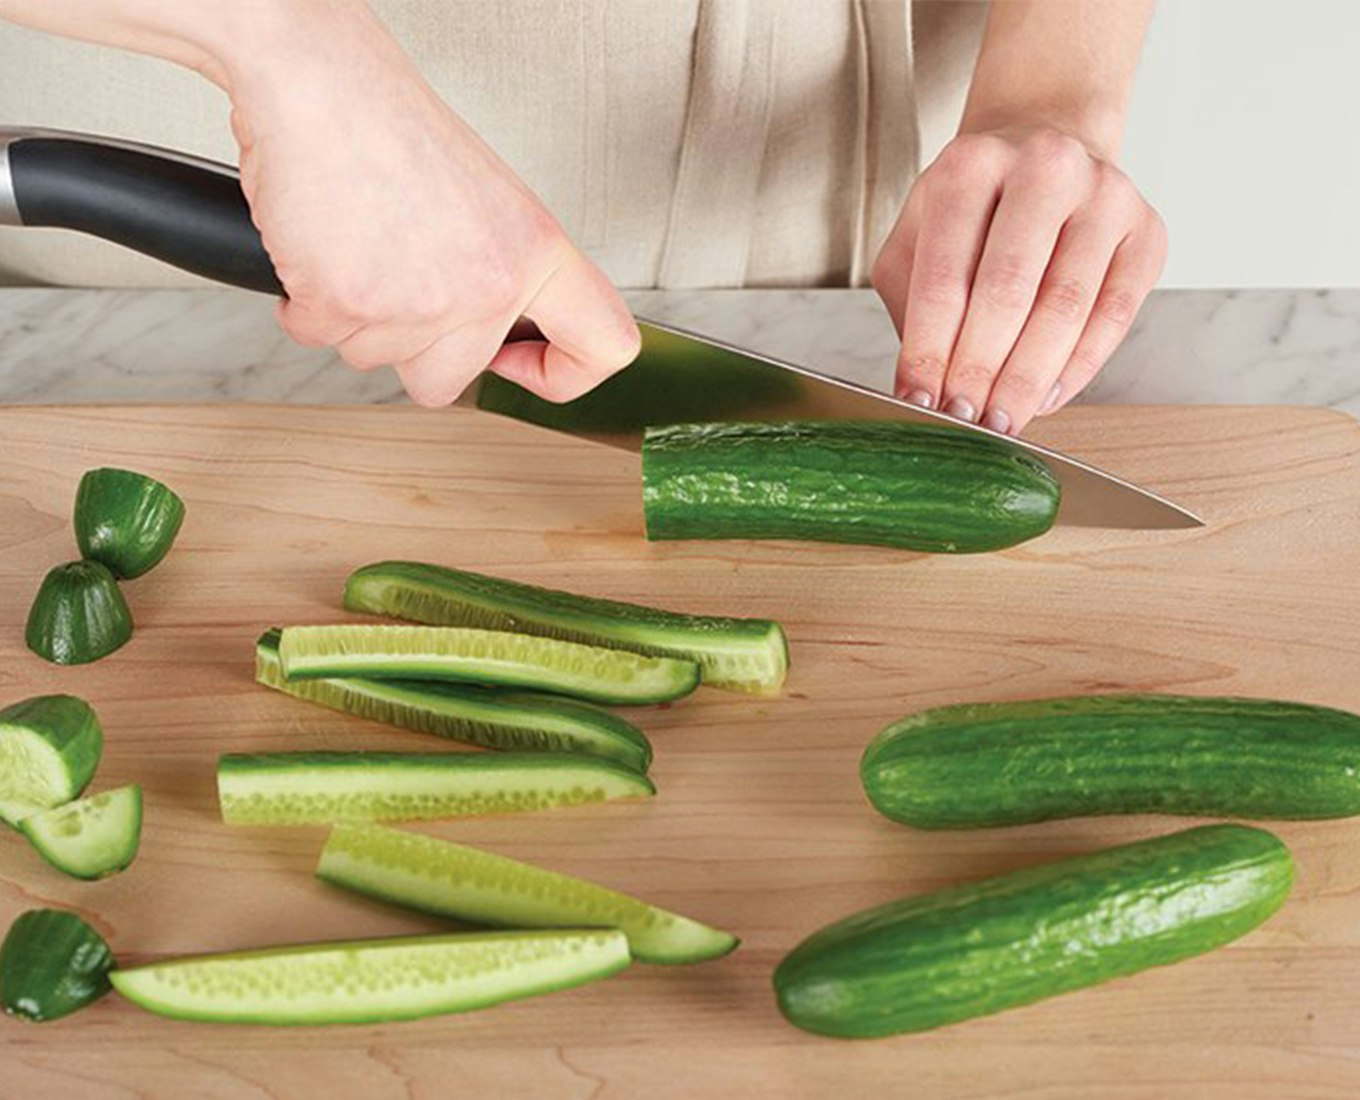
1. Pick your pickling vegetables For most desirable results, cut the veggies into equal sized pieces. For more dense veggies such as beets, you need to cook until fork tender or slice very thinly before pickling for best results.
2. Prep your pickling brine. This is where the magic happens! To make a 1 pint jar of pickles, combine 1-cup white vinegar and ½ cup of water with 1-tablespoon sugar and ½ tablespoon of salt. Bring brining vegetable mixture to a boil and cook 3 minutes or until dry ingredients have dissolved.
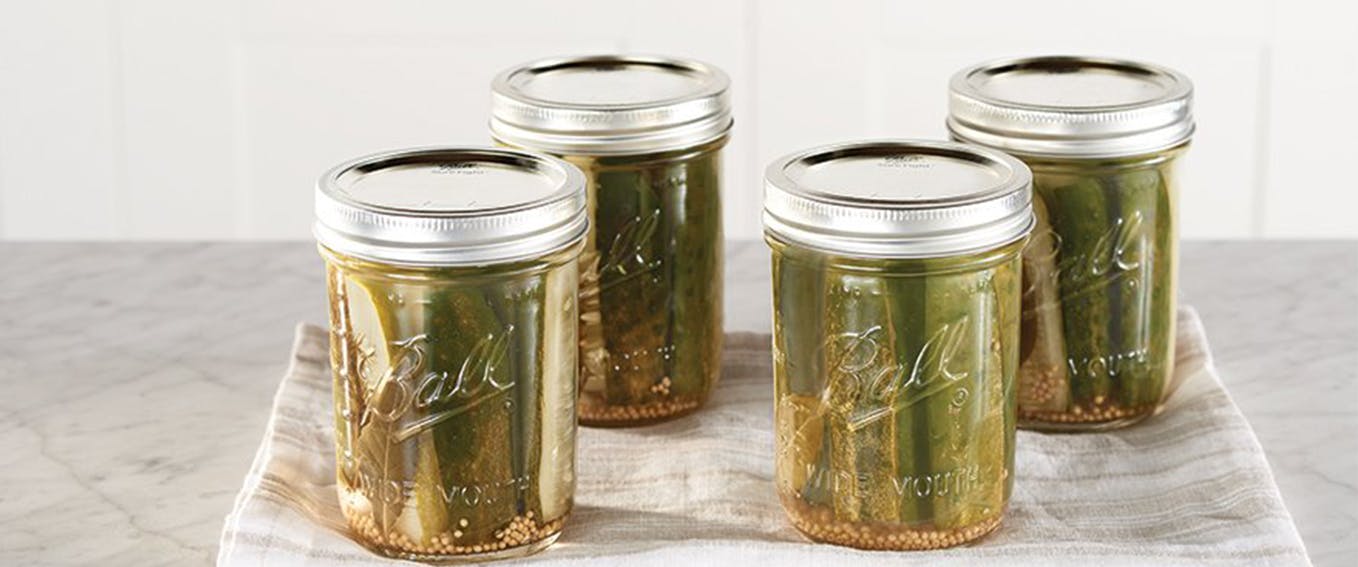
3. Pack for pickling. Package the vegetables in a warm Ball® canning jar of your choice. Pour freshly prepared pickling brine over veggies and cover. Let rest at room temperature for 1 hour before refrigerating. Make sure the brine completely covers the vegetables.

TIP: It is not necessary to leave headspace when canning refrigerator pickles.
4. Let ‘em pickle! Refrigerate for at least two hours, preferably longer. The longer your refrigerator pickled concoction sits, the better it’ll be! Three to six weeks is optimal.
5. While these pickles are delicious in their own right, their shelf life is shorter than those done by the water bath canning method. Their shelf life is 3 months, and should be kept in the refrigerator.
In just a few simple steps, you've unlocked the secret to perfect pickling and now it's time to make delicious pickled vegetables whenever and wherever you like. Expand meals and snacks beyond how to pickle cucumbers and browse our selection of additional Ball® Pickling recipes to enhance the natural flavor of your veggies. By carefully selecting, preparing, and brining vegetables, you've set the stage for a new culinary creation. With a little patience and a lot of flavor, your vegetables will mature in our Ball® Mason Jars so the flavors deepen. Finally, as you savor each crisp, tangy bite, you realize that you hold within your hands not just a jar of pickles, but a jar of memories, traditions, and endless possibilities. So go forth, pickle enthusiasts, for a tasty, tangy journey.